Imagine you’re driving and the headlights flicker out. This often traces back to a blown fuse—a tiny component that sacrifices itself to protect your circuits from dangerous overcurrents. Knowing how to check a fuse with a multimeter can turn a moment of panic into a quick fix.
A blown fuse interrupts power to prevent fire or equipment damage, but a faulty test leaves you in the dark. With a multimeter, you can positively pinpoint a fuse as the problem, saving unnecessary repairs or replacements. This article is your step-by-step path to fuse testing success, with essential techniques, safety tips, and real-world applications.
Let’s have some short words to understand what is a fuse and its role in electric circuits.
How Fuses Work
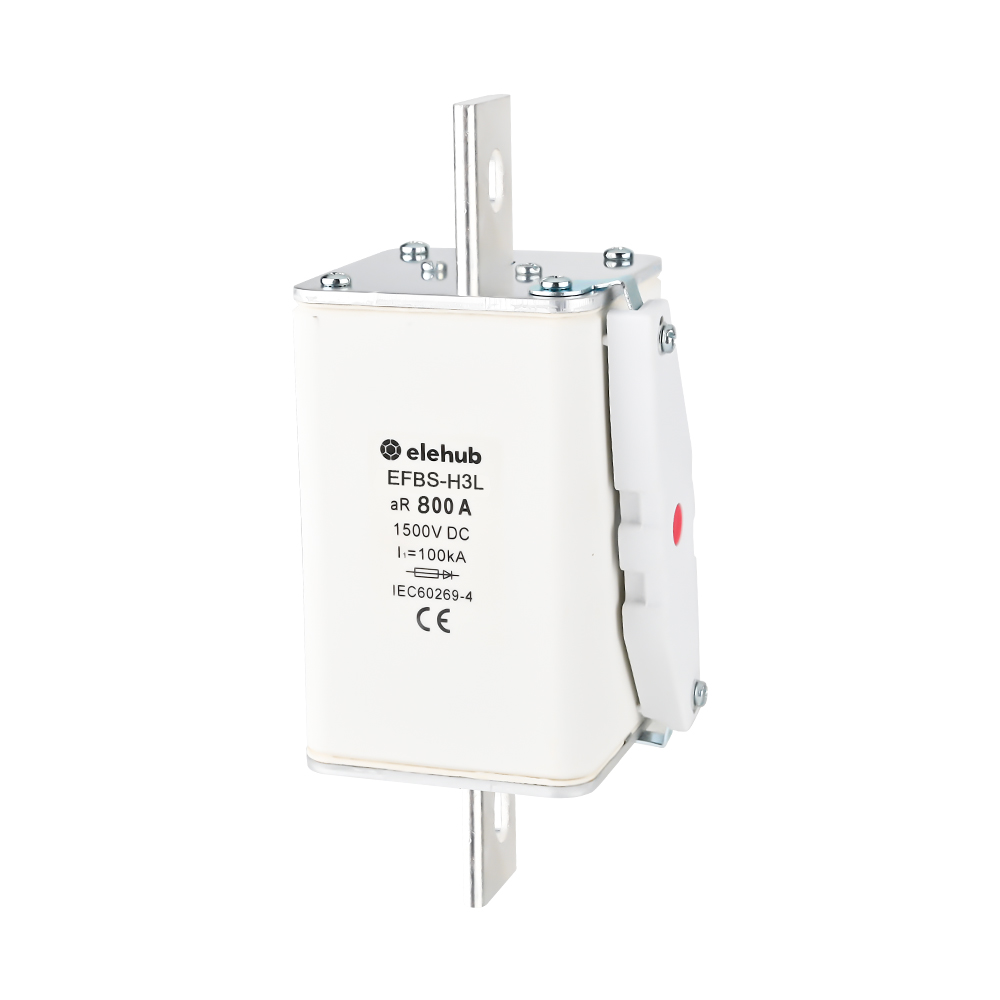
A fuse is a safety device designed to protect electric circuits by cutting off power when the current flowing through them increases to unsafe levels. Inside every fuse is a thin metal strip or wire—typically tin, silver, or alloy—that melts from excessive heat caused by an overcurrent overload or short circuit.
The melting opens the circuit, breaking electricity flow and thus protecting equipment connected to it. A fuse has to be replaced once it’s blown since it’s a single-use device.
Common Fuse Types and Uses

Click the pic to zoom in
Fuses differ in construction and function, suited for particular environments and loads. The following are the most fuse types:
- Glass Tube Fuses: Cylindrical with a clear body, these expose a visible wire that is broken when blown. Rated from 0.5A to 30A, they’re utilized in electronics and older vehicle systems for their accuracy and simple inspection.
- Blade Fuses: Flat, plug-in fuses with plastic bodies, color-coded by current (1A to 40A). They’re common in newer vehicles, compact, and simple to change.
- Ceramic Fuses: Robust and heat-resistant, these handle higher currents (up to 100A) and are common in industrial equipment where durability is important.
| Fuse Type | Material | Current Rating | Breaking Capacity |
| Glass Tube | Glass, Metal | 0.5A–30A | Low to Medium |
| Blade | Plastic, Metal | 1A–40A | Medium |
| Ceramic | Ceramic, Metal | 0.5A–100A | High |
Further Reading:
Choosing the Right Multimeter for Fuse Checking

Key Features to Consider
A multimeter is a go-to tool for fuse testing, but not all is equal. Here are some key features for using:
- Continuity Mode: Beeps to indicate an intact circuit—ideal for a fast fuse test.
- Resistance Measurement: Measures ohms (Ω) to identify faint problems in fuse condition.
- Voltage Capability: Checks circuit voltage to ensure power delivery or troubleshoot more extensive problems.
- Auto-Ranging: Automatically selects the appropriate range, making it easier for newcomers.
- Safety Ratings: Select a CAT III or CAT IV rating for home or industrial use to ensure protection against voltage spikes.
Recommended Multimeter Settings
Most multimeters include multiple ranges for resistance (e.g., 200Ω, 2kΩ, 20kΩ, 200kΩ, 2MΩ). Start with the lowest (200Ω) for precise fuse testing because a good fuse has minimal resistance.
The continuity mode, which is often indicated by a diode symbol or “CONT,” is ideal for fast pass/fail testing. For voltage tests, select AC or DC based on your circuit (e.g., 120V AC for home outlets, 12V DC for cars). Choosing the right settings ensures accurate results without damaging your tool.
How to Check a Fuse with a Multimeter
Testing a fuse with a multimeter often involves three ways: continuity, resistance, and voltage testing. Here’s how to do test a fuse with a multimeter efficiently and safely.
Preparing the Multimeter
- Connect the Leads: Insert the black lead into the “COM” socket and the red lead into the “Ω/V” or “Ohms/Voltage” socket.
- Power On: Turn on the multimeter, ensuring it’s functional.
- Verify the Tool: Touch the probe tips together—there should be a beep for continuity and a dip to near 0Ω for resistance, confirming the multimeter is working.
Continuity Testing: Step-by-Step
- Remove the Fuse: Disconnect power to the circuit, then remove the fuse from its holder to avoid false readings from parallel paths.
- Set to Continuity: Turn the dial to the continuity setting (typically a diode symbol or “CONT”).
- Touch the Probes: Place one probe on each end of the fuse—polarity doesn’t matter.
- Listen and Look: A beep or low reading (e.g., 0-1Ω) means the fuse is good; silence or no change indicates it’s blown.
Resistance Testing: Step-by-Step
- Isolate the Fuse: Ensure it’s out of the circuit and on a non-conductive surface (e.g., wood or plastic).
- Set to Resistance: Switch to the lowest ohm range (e.g., 200Ω).
- Probe the Ends: Touch the metal caps or blades with the probes, with good contact.
- Check the Reading: Near 0Ω (e.g., 0.1-0.5Ω) = good; “OL” (overload) or infinite resistance = blown.
Voltage Testing: Step-by-Step
- Keep Fuse in Place: Leave the fuse in position for this test.
- Set to Voltage: Select the correct range (e.g., 20V DC for autos, 200V AC for household).
- Probe the Holder: Put one probe on each terminal of the fuse holder while the circuit is powered.
- Read the Voltage: 0V across the holder means a blown fuse; a reading close to the circuit’s expected voltage (e.g., 12V or 120V) indicates it’s good.
Interpreting Multimeter Readings: Is a Fuse Blown?
Knowing how to interpret the multimeter readings is the key to diagnosing the condition of a fuse. Here’s what they indicate:
Continuity Test:
Beep or low reading (0-1Ω): Good fuse—current flows freely.
No beep or unchanged display: Blown fuse—no circuit continuity.
Resistance Test:
Near 0Ω (e.g., 0.2Ω): Good Fuse.
“OL” or infinite resistance: Blown fuse—the wire is broken.
Voltage Test:
0V across holder: Fuse is likely blown, blocking current.
Expected voltage (e.g., 12V DC): Fuse is good, allowing power through.
| Test Type | Reading | Interpretation |
| Continuity | Beep / 0-1Ω | Good fuse |
| Continuity | No beep / No change | Blown fuse |
| Resistance | ~0Ω | Good fuse |
| Resistance | OL / Infinite | Blown fuse |
| Voltage | 0V | Likely blown fuse |
| Voltage | Expected Voltage | Good fuse |
Safety Precautions for Testing Fuses

Source: https://www.wikihow.com/Check-Fuses
Electricity handling must be done with caution. Follow these safety precautions to protect yourself and your equipment:
- Turn Off Power: Turn off the circuit at its source (breaker panel or battery) before pulling a fuse.
- Check No Voltage: Confirm the circuit is dead with the multimeter’s voltage—never assume it’s off.
- Wear Protective Gear: Use rubber gloves, safety goggles, and rubber-soled shoes to reduce shock risk.
- Use Insulated Tools: quip probes and all fuse pullers with insulated handles.
- Match Fuse Ratings: Use the same type and rating of fuse to replace blown ones to avoid overheating.
- Don’t Bypass: Never use wire or metal to bypass a fuse holder—this may start fires or blow up circuits.
- Dry Conditions: Ensure your work environment is dry or moisture-free to prevent shorts.
Troubleshooting Common Fuse Testing Issues
Inconsistent Readings
Cause: Dirty fuse terminals or incorrect probe contact.
Solution: Clean fuse ends with a dry cloth and press probes in firmly. Test multimeter by holding tips together (should read ~0Ω).
Frequent Fuse Blowouts
Cause: Circuit overload or a short circuit.
Solution: Inspect corded appliances for faulty cords (e.g., frayed cord) or overload (e.g., excessive number of appliances). Inspect wires for shorts in case repeated blowouts persist.
Unclear Fuse Ratings
Cause: Lost labels or non-availability of documentation.
Solution: Look for labels on the fuse or fuse holder, consult the device handbook, or determine the circuit’s normal current to estimate rating.
Real-World Examples
Your car’s stereo cuts off in the middle of a song. Find the fuse box (usually under the dash), identify the stereo fuse (such as 10A blade), and pull it out with a plastic puller. Place your multimeter on continuity, touch the probes to the metal blades of the fuse, and listen. A beep indicates it’s good; silence indicates it’s blown—replace it and try again.
Maintaining a Multimeter for Reliable Testing
A well-maintained multimeter ensures accurate fuse tests. Remember the following tips:
- Store Properly: Keep it in a padded protective case to insulate against dust and drops.
- Check Batteries: Replace with new ones as soon as the low-battery warning light appears—fading power deteriorates readings.
- Calibrate Regularly: Check for precision annually with an established resistance value or professional inspection.
- Inspect Probes: Inspect for damaged insulation or bent tips; replace defective leads at once.
- Don’t Overdo It: Don’t expose it to too much heat, humidity, or higher-rated circuits than its rated capacity (e.g., 600V maximum).
FAQ
Can I test a fuse without removing it?
Yes, voltage testing between the holder, but continuity or resistance testing requires removal to avoid circuit interference.
What if a multimeter doesn’t beep?
The fuse is most likely blown, or your multimeter is not set to continuity mode—recheck settings and probe contact.
How to know the right fuse rating?
Refer to the marking on the fuse, the device documentation, or holder label—never guess, because incorrect ratings invite damage.
Can a fuse fail without blowing?
Sometimes due to defects or corrosion, but that is infrequent—check using resistance to trap sneaky failures.
Related Articles about Fuses
Are Fuses Directional and Why?
Does Voltage Matter on a Fuse?
Fuse vs Circuit Breaker: Key Differences Explained
What’s the Difference Between AC and DC Fuses?