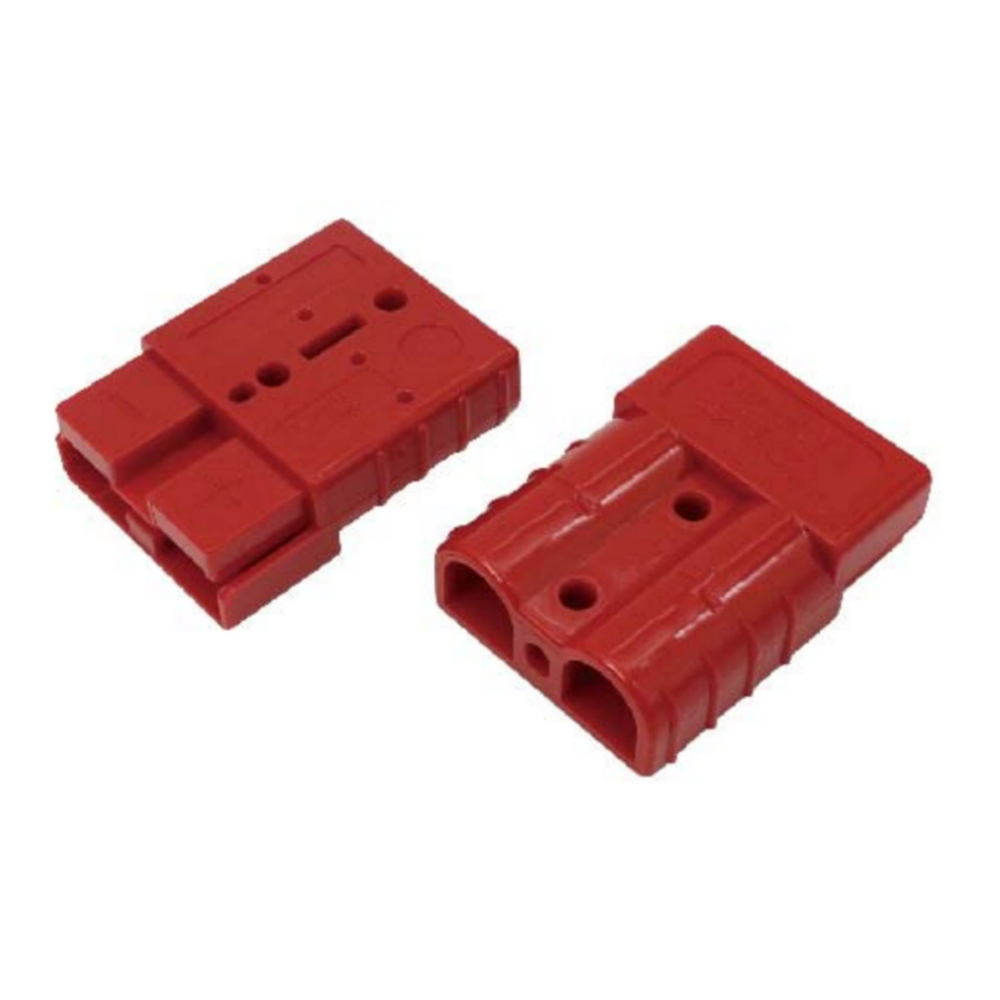
Circuit breakers protect electrical systems from overloads and short circuits. Proper installation ensures safety and system reliability, whether at home or for sectors relying on industrial automation or renewable energy. This guide explores the key steps and considerations for circuit breaker installation. Read on!
Understanding Circuit Breakers
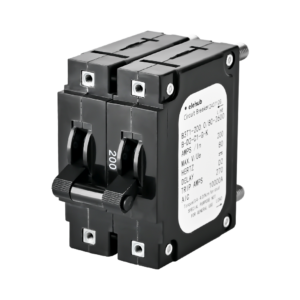
What is a circuit breaker? A circuit breaker is an automatic safety device designed to cut electrical current flow when there’s an overload. Without circuit breakers, electrical faults could result in equipment failure, fire hazards, or costly downtime.
At its core, a circuit breaker monitors the flow of electrical current through a circuit. It automatically goes off when it detects a current beyond its threshold. Most breakers can be reset once the issue is resolved, restoring normal operation.
There are several types of circuit breakers, each suited to different applications depending on current load, response time, and environmental conditions. A few include:
- Thermal-magnetic circuit Breakers use a bimetallic strip (thermal) for overload protection and an electromagnet (magnetic) for short-circuit response. They are common in low-voltage applications like home appliances.
- Hydraulic-magnetic circuit Breakers: use a hydraulic delay mechanism, making them unaffected by ambient temperature changes. They’re suitable for environments with fluctuating temperatures.
- Miniature and Molded Case Circuit Breakers (MCB & MCCB): MCBs are used for lower currents in domestic or control panels (Get to know MCB type). MCCBs handle higher loads in industrial settings with adjustable trip settings.
- Residual Current Circuit Breakers (RCCBs): detect leakage currents that may not trip standard breakers, such as when current flows through a human body to the ground. They enhance personal safety by disconnecting the circuit at the slightest current leakage.
- Arc Fault Circuit Interrupters (AFCIs): Designed to detect dangerous arcing conditions that traditional breakers miss. Arcing can occur from damaged wires or loose connections and may lead to electrical fires. AFCIs shut down the circuit when an arc fault is detected.
Other classifications of circuit breakers are based on location, phase configuration (single and double pole circuit breaker), operation mechanism, and voltage level.
What Should You Do Before Installation

Assessing Project Requirements
Before a circuit breaker installation, understand the system’s electrical load and voltage requirements. Also, assess the setting, whether residential, commercial, or industrial. This ensures you select the correct breaker for optimal protection and compliance with standards.
Tools and Safety Protocols
Proper tools include insulated screwdrivers, voltage testers, torque wrenches, wire strippers, and personal protective equipment (PPE) like gloves and safety goggles. Before starting, always de-energise the system and verify using a voltage tester. Follow lockout/tagout (LOTO) procedures where applicable, and consult wiring diagrams or electrical codes to avoid risks.
How to Install an AC Circuit Breaker
Open the Electrical Panel
Remove the panel cover using an appropriate screwdriver. Keep track of the screws so they can be reused when reassembling the panel later. Then locate a vacant slot for the new breaker. If you are replacing a faulty breaker, identify and prepare to remove it.
Check for Compatibility
Before you install a circuit breaker, confirm that it’s compatible with your panel. The breaker’s brand and model should match the electrical specifications. Also, verify that the breaker’s amperage rating suits the wire gauge of the circuit you are connecting. For example, a 15-amp breaker should be used with 14 AWG wire and a 20-amp breaker with 12 AWG wire.
Insert the New Breaker
If you’re replacing an existing breaker, gently remove the old one from the panel. But if you’re installing a new breaker, first locate the neutral and ground bus bars to plan the wire routing. Insert the new breaker into the panel’s busbar rail, pressing firmly until it locks securely into place.
Connect the Wires
Attach the hot (live) wire (usually black or red) to the terminal on the new breaker. Then, connect the neutral wire (white) to the neutral bus bar, and the ground wire (green or bare copper) to the ground bar. Strip only about half an inch of insulation from the wire ends to make clean and secure connections and tighten all screws firmly.
Securing and Labelling
Once the wiring is complete, neatly arrange the wires inside the panel to prevent obstruction or stress on the terminals. Then, label the new breaker clearly to indicate what circuit it controls—for example, “Kitchen Lights” or “Air Conditioner.” Proper labelling ensures that future maintenance or troubleshooting can be carried out safely.
Power On and Test
Switch the main breaker back on to re-energise the electrical panel. Once the main power is restored, turn on the newly installed circuit breaker. Then plug in a device or switch on the light or appliance connected to the circuit to test the breaker. This confirms that electricity is flowing as expected.
You can also use a multimeter to measure the voltage at the outlet or terminal point. This step ensures that the correct voltage is delivered and the installation is safe and successful.
How to Install a DC Circuit Breaker (A Solar System Example)
Plan the Solar PV System Layout
Begin by mapping out your solar panel array, charge controller, battery bank, and inverter connections. Identify where the DC circuit breaker will be placed. It can be between the solar panels and the charge controller, or between the battery bank and the inverter.
Select the Right DC Circuit Breaker
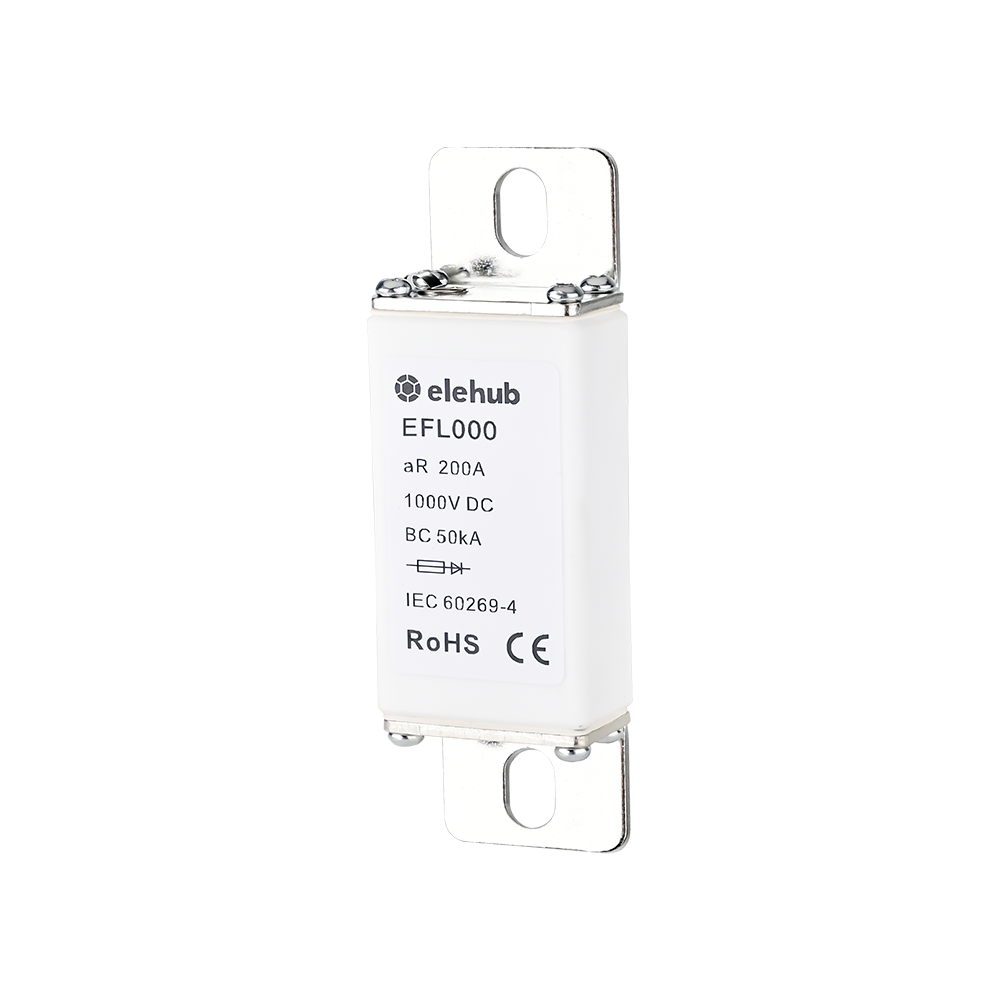
Choose a DC-rated circuit breaker that matches the system’s voltage and current specifications. DC breakers are designed to interrupt the persistent arc of direct current, making them different from AC breakers. For solar applications, the ideal type is a DIN rail–mounted DC circuit breaker with:
- High-voltage DC (HVDC) rating – often 100V, 250V, or 1000V depending on the system
- Polarity-specific terminals – some DC breakers must be installed with attention to “+” and “–” terminals
- Arc chute and magnetic blowout design – to break persistent DC arcs safely
De-energise the Solar PV System
Before installation, disconnect all power sources—cover panels or disconnect them entirely to avoid voltage flow. Use a multimeter to confirm there’s no voltage in the lines. Apply lockout/tagout procedures if working in a commercial or industrial environment. Also, use insulated tools and wear PPE.
Wire the DC Circuit Breaker
Mount the breaker on a DIN rail inside an enclosure or combiner box. Mount it vertically in a secure enclosure to allow proper heat dissipation and safe access. If installed outdoors, ensure the enclosure is weatherproof. Connect the positive wire from the charge controller to the input terminal of the breaker and the output terminal to the positive of the battery bank.
Follow polarity carefully and ensure terminals are tightened to spec. Many DC breakers are polarity-sensitive, and wiring them backwards can cause failure or fire.
Test the DC Circuit Breaker
Once installed, double-check all connections for polarity and tightness. Flip the breaker to the “ON” position and monitor the current flow using the charge controller’s display or a clamp meter. Perform a trip test if your breaker allows it, or simulate a fault to confirm that the breaker responds. Finally, document the setup for future maintenance.
Troubleshooting Circuit Breaker Installations
Now that you know how to install a circuit breaker, here is a practical guide to identify and fix common problems that may occur during or after installation.

1. Breaker Trips Immediately After Installation
- Possible causes: Incorrect wiring, short circuit, or overloaded circuit
- Solution: Check connections, inspect for damaged insulation, and verify load ratings
2. Breaker Won’t Reset or Stay On
- Possible causes: fault in the load side, faulty breaker, or loose terminals
- Solution: Isolate and test downstream devices, tighten connections, and replace the breaker if needed
3. No Power Flow After Installation
- Possible Causes: Breaker not properly seated, poor terminal contact, or incorrect bus bar alignment
- Solution: Reseat the breaker, ensure wires are firmly secured, and confirm the panel slot is powered
4. Breaker is Overheating
- Possible Causes: Undersized breaker, continuous overcurrent, or poor ventilation
- Solution: Confirm current rating suitability, reduce load, improve airflow or spacing
5. Audible Buzzing or Sparking
- Possible Causes: Arcing due to loose terminals or a defective breaker
- Solution: Tighten all terminals, inspect for damage, and replace if necessary
Wrapping Up

Source: Pexels
Circuit breakers remain a key component of many electrical wiring systems, offering a safe current interruption during overload. So far, we’ve explored how to install a circuit breaker in AC and DC systems.
However, the job doesn’t end there—regular inspection and routine maintenance are necessary for the optimal operation of a circuit breaker.
FAQ
How to choose the right type of circuit breaker for my system?
Consider the application (residential, commercial, or industrial), current and voltage requirements, and environmental conditions. Use MCBs for low-load residential setups, MCCBs for industrial systems, and RCCBs or AFCIs for enhanced safety against leakage or arc faults.
Can a DC breaker be used in place of an AC breaker?
No. AC and DC breakers are designed differently. DC breakers must interrupt a constant arc and usually include arc chutes and magnetic blowouts. Always use the breaker type specified for your system.
What’s the difference between AC and DC circuit breaker installation?
AC breakers are used in household and industrial AC systems, while DC breakers are rated for solar systems and battery setups. DC breakers must handle constant current arcs and often require polarity-specific wiring and specialized enclosure mounting.
What tools are needed for circuit breaker installation?
You’ll need insulated screwdrivers, a voltage tester, wire strippers, torque wrenches, PPE (gloves and goggles), and potentially a multimeter for testing post-installation.
What is the purpose of a circuit breaker?
A circuit breaker is a safety device that automatically cuts off electrical flow when it detects an overload or short circuit. It protects wiring, appliances, and people from damage or fire hazards caused by excess current.